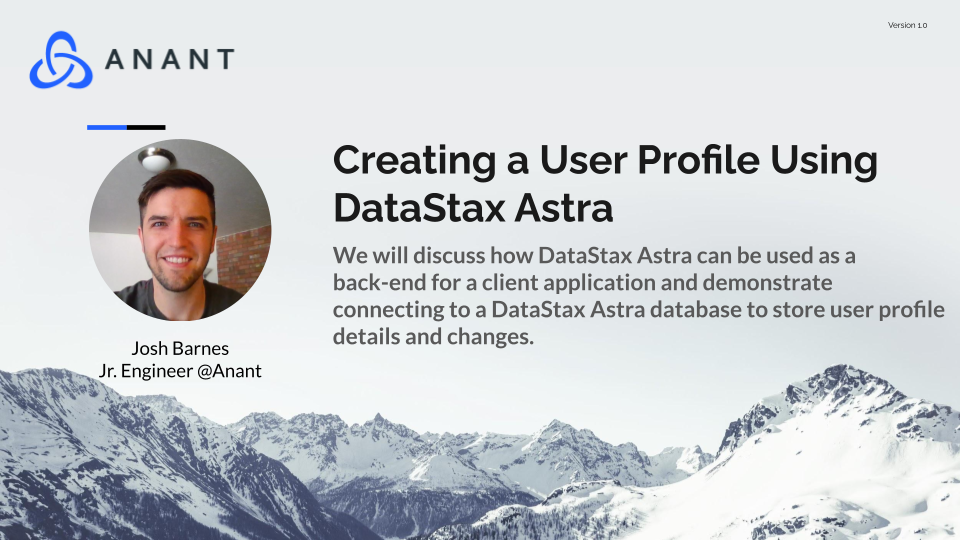
In Cassandra Lunch #71, we discussed how DataStax Astra can be used to create a database for a user profile. We will demo a small application with a user profile. The live recording of Cassandra Lunch, which includes a more in-depth discussion and a demo, is embedded below in case you were not able to attend live. If you would like to attend Apache Cassandra Lunch live, it is hosted every Wednesday at 12 PM EST. Register here now!
User Profile on DataStax Astra
DataStax Astra
Built on Kubernetes, K8ssandra to be specific, DataStax Astra is a database-as-a-service that is cloud-native. Astra automates tuning and configuration allowing users to focus more on their data. It also enforces best practices with defined parameters for operations such as column size limits to ensure smooth operational functionality. Astra currently supports Cassandra versions up to 3.11 and allows for databases on AWS, GCP, and Microsoft Azure.
A database on Astra will start with the following specifications:
- Single Region
- Single Keyspace
- Storage based on service tier
- 200 table capacity
- Replication factor of three to create a balance between uptime and data integrity
Getting Started on a User Profile in DataStax Astra
Getting started with DataStax Astra is as easy as creating an AstraDB account, no credit card is required. Creating your database, getting your application token, and starting loading and retrieving your data!
To start, we can use the CQL console inside of DataStax Astra.

Now we can create our keyspace using:
CREATE KEYSPACE user_profile
WITH replication = {'class': 'SimpleStrategy',
'replication_factor': 1};
Typically, a production-level keyspace will use NetworkTopologyStrategy with a replication factor set to 3 on the respective datacenters. A replication factor of 3 will give a good balance between fault tolerance and latency.
Next, we are going to create the tables. We will need a table to write to in order to store users’ information, users. Additionally, we will need a second table in order to query for password verification, user_credentials.
CREATE TABLE users (userid uuid,
firstname text,
lastname text,
email text,
created_date timestamp,PRIMARY KEY (userid)
);
CREATE TABLE user_credentials (
email text,
password text,
userid uuid,
PRIMARY KEY (email)
);
Connecting the User Profile on DataStax Astra
DataStax Astra really begins to shine when it comes to connecting your client. Astra offers multiple ways in which to connect including, REST, GraphQL, Document, and gRPC APIs. In addition to these methods, you can interact directly with your Cassandra cluster from the CQL console in the browser as mentioned above. If you want to go beyond interacting with Astra via APIs or the browser, DataStax provides multiple drivers depending on your programming language of choice. Currently, their documentation lists drivers for, C++, C#, Java, Node.js, and Python.
Astra allows for interacting with the schema or the data of the database. I used the following request using JavaScript and fetch in a React client in order to insert a new user into my Astra database:
const baseUsersUrl = "https://{astra-cluster-id}-{astra-region}.apps.astra.datastax.com/api/rest/v2/keyspaces/{your-keyspace-name}/{your-users-table-name}"

const baseUserCredsUrl = "https://{astra-cluster-id}-{astra-region}.apps.astra.datastax.com/api/rest/v2/keyspaces/{your-keyspace-name}/{your-user-credentials-table-name}"

export async function createNewUser(firstname, lastname, email, password) {
  const userUuid = uuidv4();
  const timestamp = new Date().toISOString();

  const userBody = {
    userid: userUuid,
    created_date: timestamp,
    firstname,
    lastname,
    email,
  };

  const credentialBody = {
    userid: userUuid,
    email,
    password,
  };

  try {
    const response = await fetch(baseUsersUrl, {
      method: "POST",
      headers: {
        "Content-Type": "application/json",
        "x-cassandra-token": "your-cassandra-token",
      },
      body: JSON.stringify(userBody),
    }).then((res) => res.json());

    const credentials = await fetch(baseUserCredsUrl, {
      method: "POST",
      headers: {
        "Content-Type": "application/json",
        "x-cassandra-token": "your-cassandra-token",
      },
      body: JSON.stringify(credentialBody),
    }).then((res) => res.json());
  } catch (e) {
    console.log(`Something went wrong: ${e.message}`);
  }
}
With this function connected, you will be able to insert new users into your Astra tables. After running this function with valid arguments you can run the following code in the CQL console on Astra to verify the new user was loaded into both tables.
use {your-keyspace-name};

select * from {your-users-table-name};

select * from {your-user-credentials-table-name};
Verify that the new user has been uploaded to Astra database and is available to query for login or getting the user’s details! An example of what that would look like after adding a user with the name John Smith:

If you missed Apache Cassandra Lunch #71: Creating a User Profile Using DataStax Astra and React, and Cassandra live, it is embedded below! Additionally, all of our live events can be rewatched on our YouTube channel, so be sure to subscribe and turn on your notifications!
Resources
Cassandra.Link
Cassandra.Link is a knowledge base that we created for all things Apache Cassandra. Our goal with Cassandra.Link was to not only fill the gap of Planet Cassandra but to bring the Cassandra community together. Feel free to reach out if you wish to collaborate with us on this project in any capacity.
We are a technology company that specializes in building business platforms. If you have any questions about the tools discussed in this post or about any of our services, feel free to send us an email!


